Before sitting down to create your XML file, you should consider the film you wish to write about. What is it that you want to discuss about the film that is expressed in its audiovisual text? Then, while watching the film, determine which clips address the central point of interest and stand to generate discussion. Record the start and end times of your chosen clips, caption them, then write a description of each. These three elements become the main components of your XML file as three different tags: start/end times, descriptions, and captions.
Start/end times:
Identify the starting and ending time of each clip, and enter these into the appropriate fields in the XML file. Start and end times are formatted as hours:minutes:seconds. If the video is over an hour long, you can either use the hour field or simply continue using minutes; for example, 1:12:15 and 72:15 would take you to the same place in a video.
You also have the option to only use the seconds field, meaning that 2:00 and 120 would take you to the same place.
Descriptions:
Descriptions are longer passages of text that display below the video window while the clip plays. Enter your notes or commentary about the clip here.
Around 360 characters will be displayed in this field.
Captions:
Captions are the labels or titles that will help you identify your clips. These will appear in the ClipNotes interface as your scroll through your list of clips, allowing you to browse through and choose the clip you’re looking for.
If you leave the caption field blank, ClipNotes will insert the first few words of your description.
Here’s a sample XML file showing two clips. The tags are colored blue to help you see the XML structure:
<Clips>
<Clip>
<Start>4:16</Start>
<End>4:27</End>
<Description>This close-up shot shows Kane’s angry face.</Description>
<Caption>Cinematography – Close-up</Caption>
</Clip>
<Clip>
<Start>2:05</Start>
<End>2:49</End>
<Description>The woman wears a modest light-colored dress.</Description>
<Caption>Mise-en-scene – Costume</Caption>
</Clip>
</Clips>
Notice how tags always come in pairs – for example, <Caption> and </Caption> open and close the field where you’ll enter your caption text.
- <Clips> and </Clips> mark the beginning and end of your whole list of clips in your XML file.
- <Clip> and </Clip> mark the beginning and end of ONE clip in your XML file. These will contain each set of time, caption, and description information.
- <Start> and </Start> mark the start time for one clip.
- <End> and </End> mark the stop time for one clip.
- <Description> and </Description> mark the longer text passage you want to appear below your clip when it plays.
- <Caption> and </Caption> mark the short label or title that will help you identify each clip.
See an example XML file or a blank XML template that you can use for your own file.
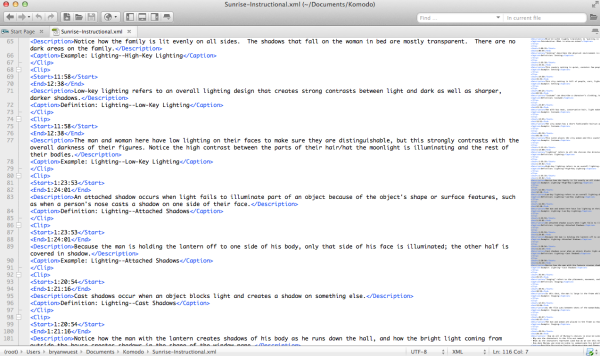
To edit XML files, we recommend Komodo Edit – it’s free, multi-platform, and checks for errors in code. Komodo uses color to differentiate between tags and text and will indicate if you have mistakes in your tags.
The red underline below refers to the error in the second “Caption” tag.
However, an XML file is comprised entirely of text, so any text editor can work as long as the file is saved with the .xml extension. Click here for a list of XML editing resources.
Troubleshooting your XML file
Be precise with your XML formatting; errors or omissions will make ClipNotes unable to read the file. Try these if you’re having problems:
- Make sure you remember forward slashes (/) in each closing tag.
- Double check your numbers in your start and end time, and don’t forget colons between hours:minutes:seconds.
- Assure all of your tags are correctly closed. A quick way to do this is by searching, for example, “start” and “/start” and making sure both return the same number of results.
When both your video file and your XML file are ready, then you’re ready to open ClipNotes on your PC or iPad.


