If you want to use a DVD with ClipNotes, you’ll need to encode the film into a usable video format. The video file needs to be in a format that your device can play. For a list of supported video formats for an iOS, visit Apple support. A Windows 8.1 computer or tablet can generally play the same formats that Windows Media Player can; visit Windows support for more information. For both Windows 8.1 and iOS we recommend m4v, mp4, and mov files using H.264. To encode a film into a usable format, we recommend Handbrake – it’s free, multi-platform, and converts to mp4. But there are many programs available for free or for pay to help you convert a DVD to a video format you can use with ClipNotes. Click here for a list of video encoding resources. Once your video file is ready, move on to creating your XML file.
How to rip a DVD using Handbrake for Mac (These instructions and screenshots are from a Mac, but the process is similar for Windows)
1. When you are ready to rip a DVD, put the disc in your drive. If your DVD player launches automatically, quit this application as running both Handbrake and your DVD player can slow the ripping process.
2. As you open Handbrake with a DVD already in your drive, you will see the following, prompting you to choose the appropriate file:
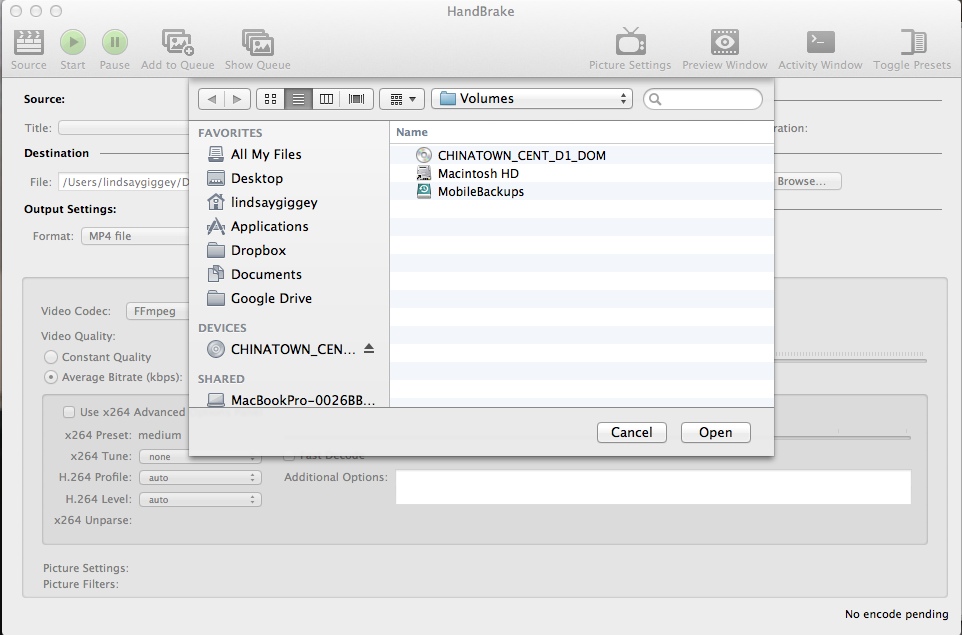
In this case, choose “CHINATOWN_CENT-D1-DOM,” and click open. If this screen does not open automatically upon opening Handbrake, click “Source” to manually select the file you would like to import. The “Source” button can be found in the upper left corner of the application.

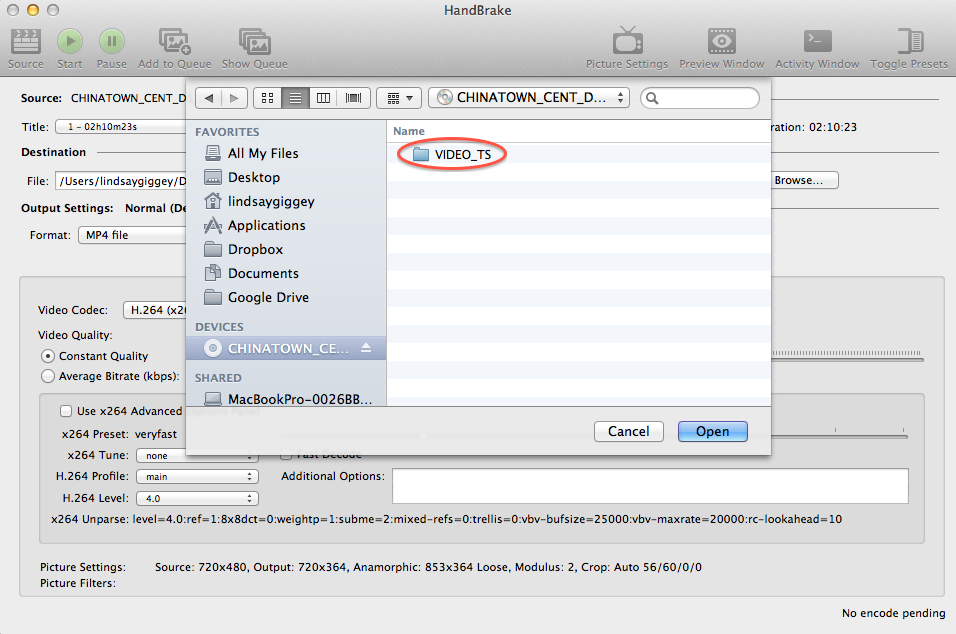
File names often include “VIDEO_TS.” Find the appropriate file and click open.
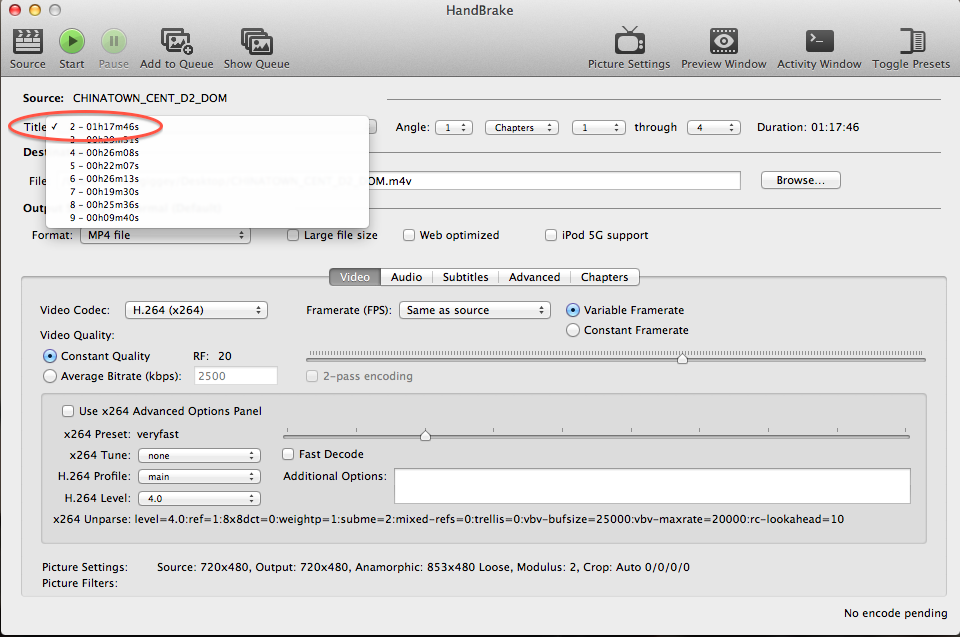
3. Once you have clicked open, Handbrake will allow you decide the material you would like to rip. The “Title” drop down menu lists all the video files on your DVD. Sometimes DVDs include several video files (the feature itself, special features material, individual television episodes, etc.). These clips will not be labeled, but defined by their lengths of time in hours, minutes and seconds. If you are ripping a feature-length movie, choose the longest clip. If you are ripping a featurette or individual television episode, check their lengths in order to choose the appropriate file.
4. Select “Browse” to name your file. You may also change the destination of your file, but we suggest leaving the destination as your desktop.
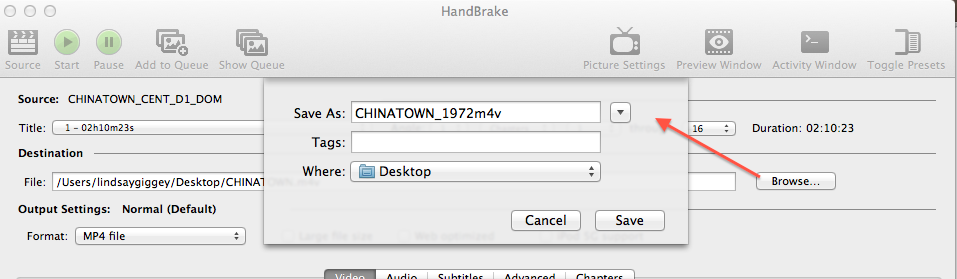
For films, we recommend including the title and year in your file name. For TV episodes, we recommend including the series title, episode title, season number, disc number, and episode number shorthand (i.e. SeriesTitle_EpisodeTitle_S4D2E4 would mean, Season 4, Disc 2, Episode 3). This will help both you and future users to identify the source material.
5. Because you’ll likely be using this file on your iPad, you’ll need to format the file as such. Click on “Toggle Presets.” Select “iPad” if you are using ClipNotes for iPad, otherwise, select the preset for the device you would like to use.
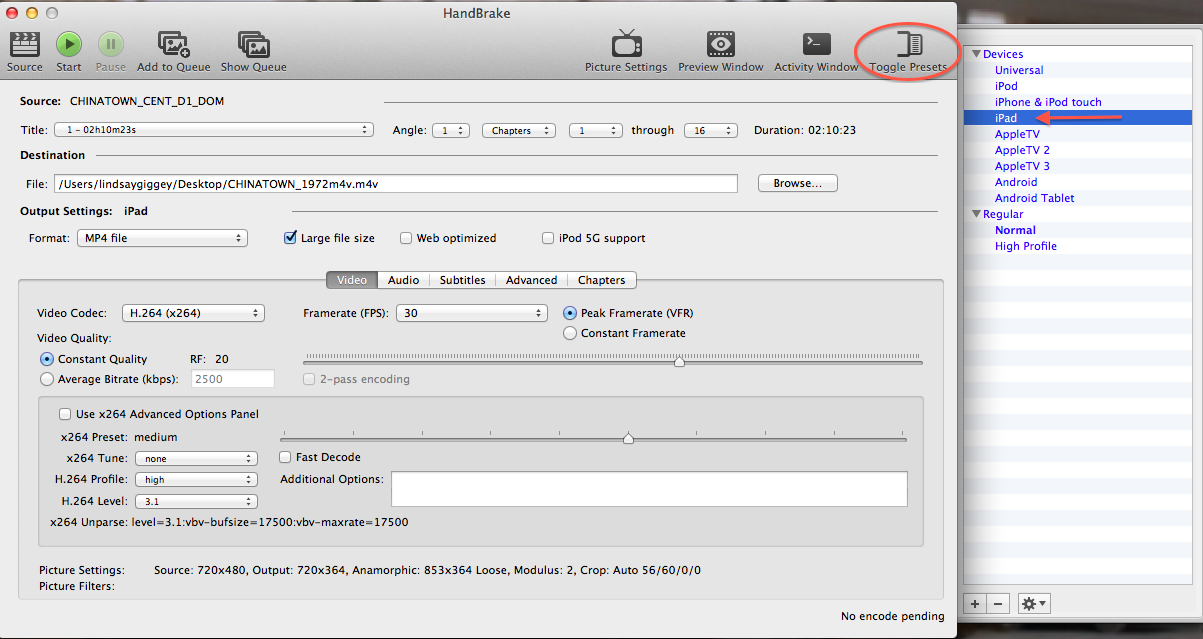
Once you’ve chosen iPad (or your chosen device), select “Large file size,” which can be found just under “Destination.

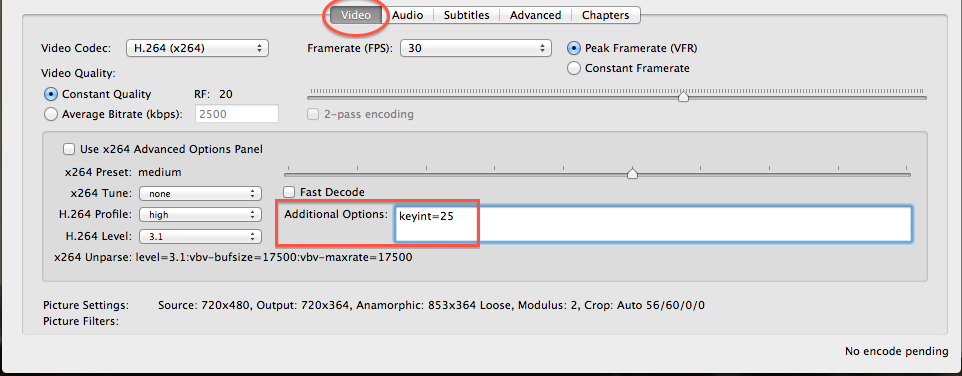
If it’s not already chosen, click the “Video” tab. There are several pre-set options chosen for you. Leave these as they are. However, in the space where it says “Additional Options,” enter the following: keyint=25
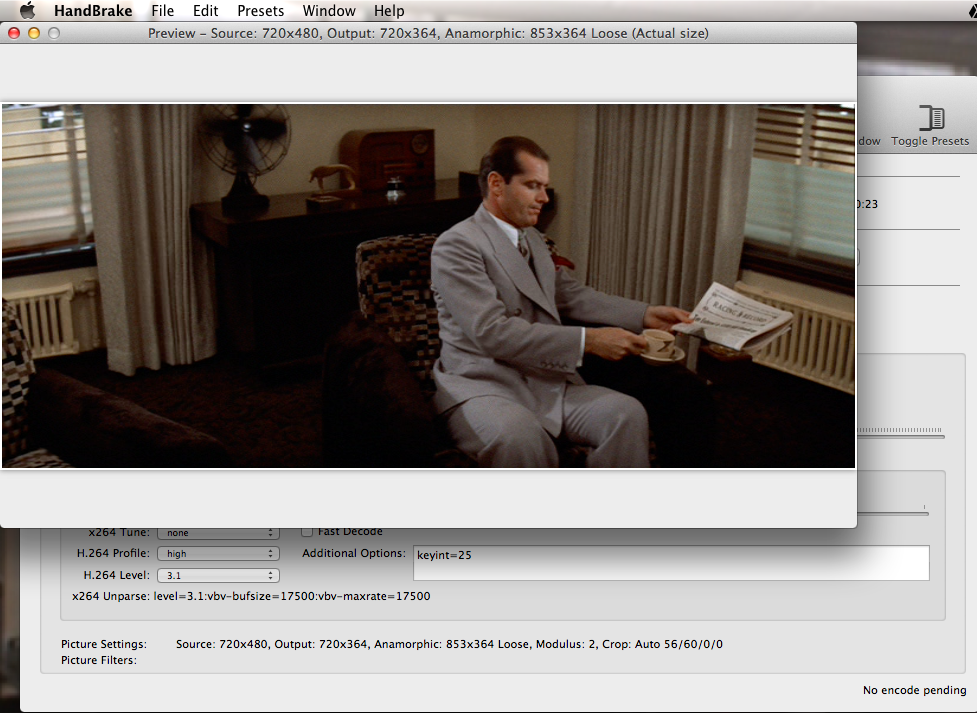
6. Once you’ve prepared your video file, click on “Preview Window” to ensure that your output is clear and not garbled. Clicking “Preview Window” will generate a pop-up window containing a frame from your video file.

7. OPTIONAL
If you would like to add subtitles to your file, select the “Subtitles” tab. If your DVD has more than one subtitle track, choose your desired language and check the box marked “burned in.” This will imprint the subtitles right onto the video itself.


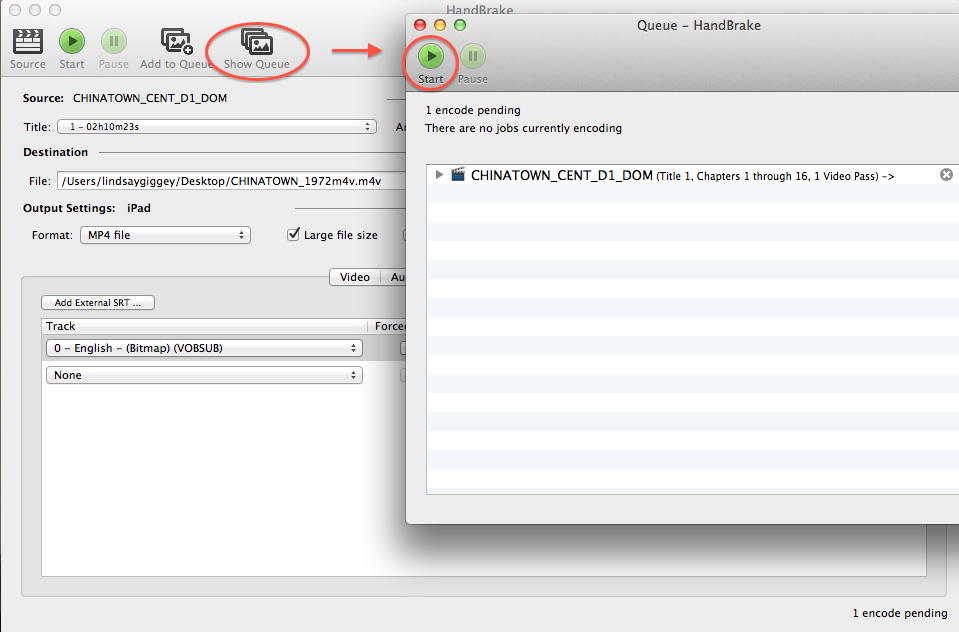
8. When you’re ready to rip your file, click “Add to Queue.”

9. Click “Show Queue” to see your video file. Click “Start” to begin the encoding process. When completed, your file will automatically go to your Desktop (or to the destination you entered in step 4.).
Now that your video file is ready, move on to creating your XML file.